
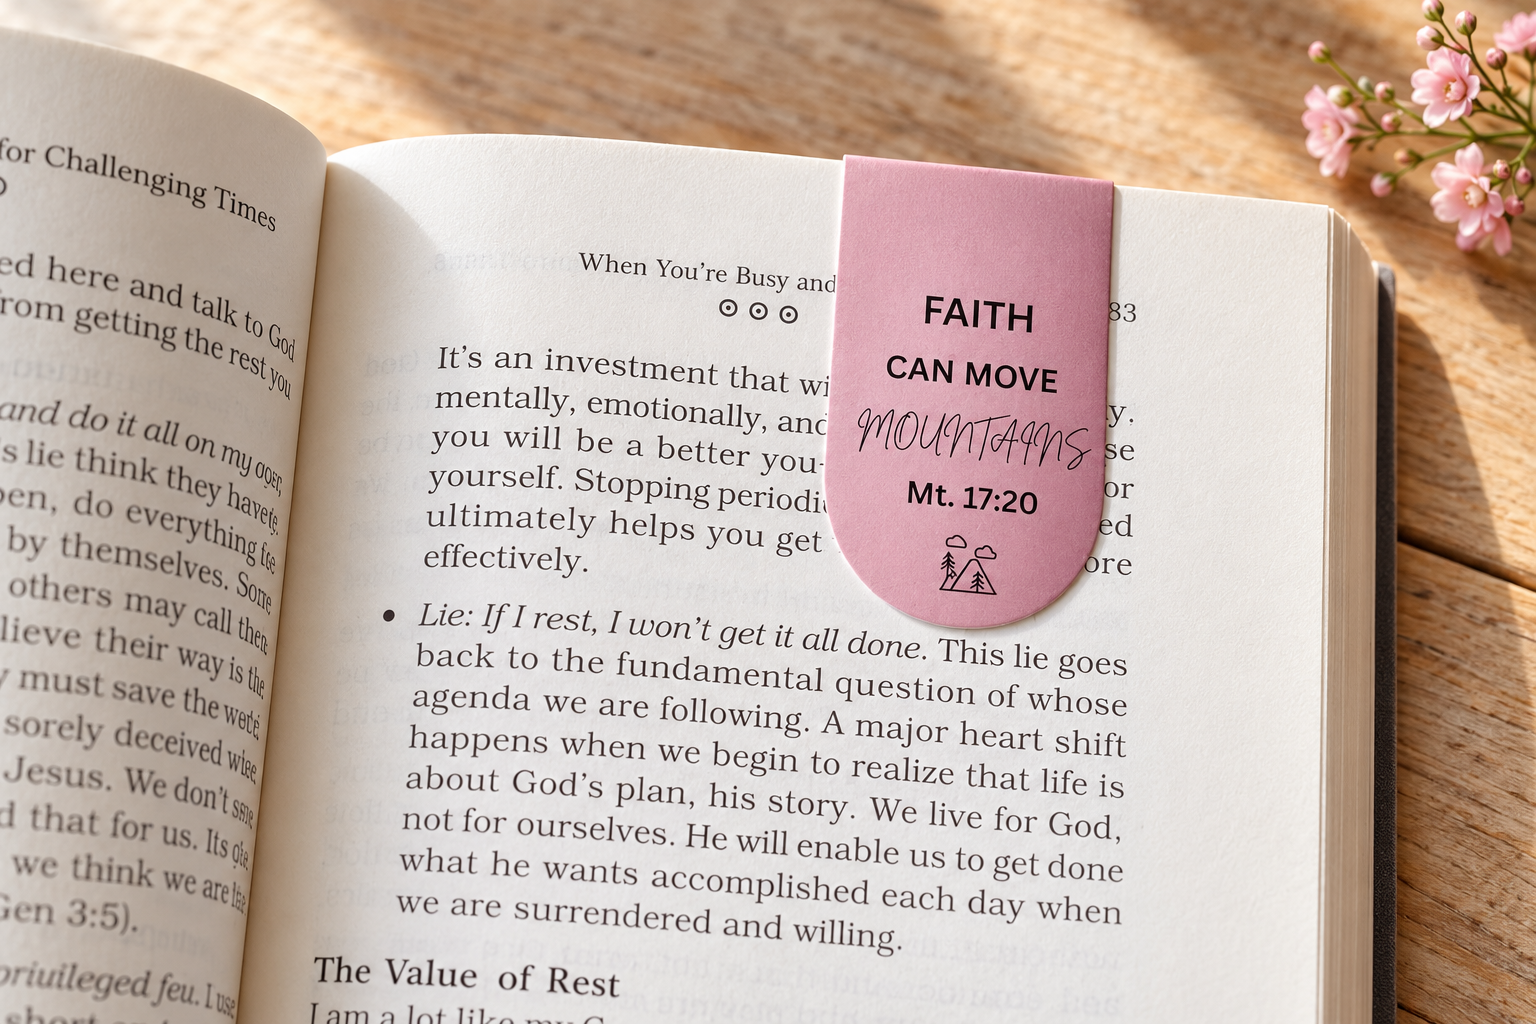
Magnetic bookmarks are cute, useful, and surprisingly easy to make at home. Unlike regular bookmarks, they gently clip around the page and are less likely to fall out.
You can decorate them with floral patterns, inspiring quotes, Bible verses, or your own artwork.
This simple craft is perfect for beginners. It can also become a thoughtful handmade gift or a lovely product for your small craft business.
Materials Required
You will need thick photo paper or cardstock, a printer, scissors or a paper cutter, a ruler, a pencil, glue, and small flat magnets or self-adhesive magnetic sheets.
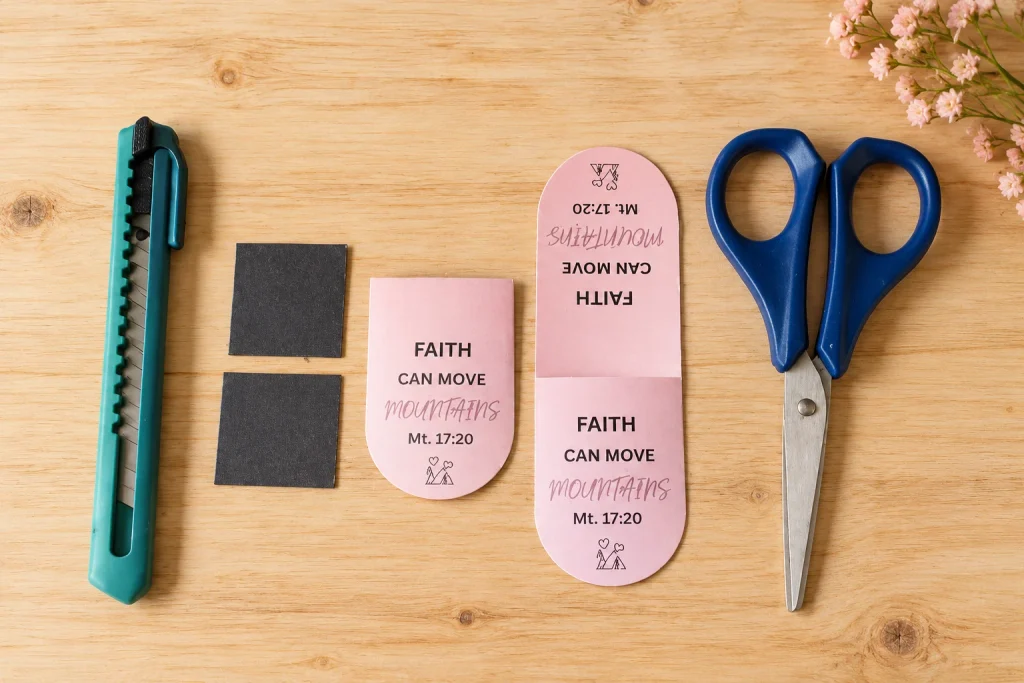
You can also use a corner-rounding punch to create smooth edges. For extra protection, keep a laminating machine or transparent self-adhesive laminating sheet ready.
Choose a bookmark design from Canva, or create your own simple design before you begin.
Step 1: Choose the Bookmark Size
A finished magnetic bookmark can measure approximately 4 cm wide and 6 cm long when folded. Therefore, your open design should measure around 4 cm wide and 12 cm long.
You can adjust the size depending on your design and the book you plan to use. Avoid making the bookmark too large or heavy, especially if it will be used on thin pages, such as those found in a Bible.
Step 2: Create Your Design
I needed guidance to understand how to arrange the design in Canva. It took me some time, so don’t feel you have to get it right immediately.
Start with one simple design and check how both halves look when folded before printing more copies.
Step 3: Print the Bookmark
Download your Canva design as a PDF Print file.Print your design at home or use a local print shop.
I used a print shop for mine. Choose “Actual size” or 100% scale to keep your measurements correct.
Step 4: Cut Out the Bookmark
Cut around your printed bookmark design using scissors. Follow the outline carefully, keeping both halves a similar shape.
I used printed paper without lamination. Cutting the curved outline with scissors was tricky, and my edges weren’t perfectly even. Take your time around the curves, and don’t worry about small imperfections.
Lamination is optional if you want extra protection for your bookmark.
Step 5: Fold the Bookmark
Mark the center of the bookmark lightly using a ruler and pencil. Fold it carefully along the center line, making sure both sides are properly aligned.
Press the fold gently with your fingers, or use the flat edge of a ruler to create a clean crease.
Do not press too hard if the paper is laminated because the laminate may crack. The two decorated halves should now face outward.
Step 6: Attach the Magnets
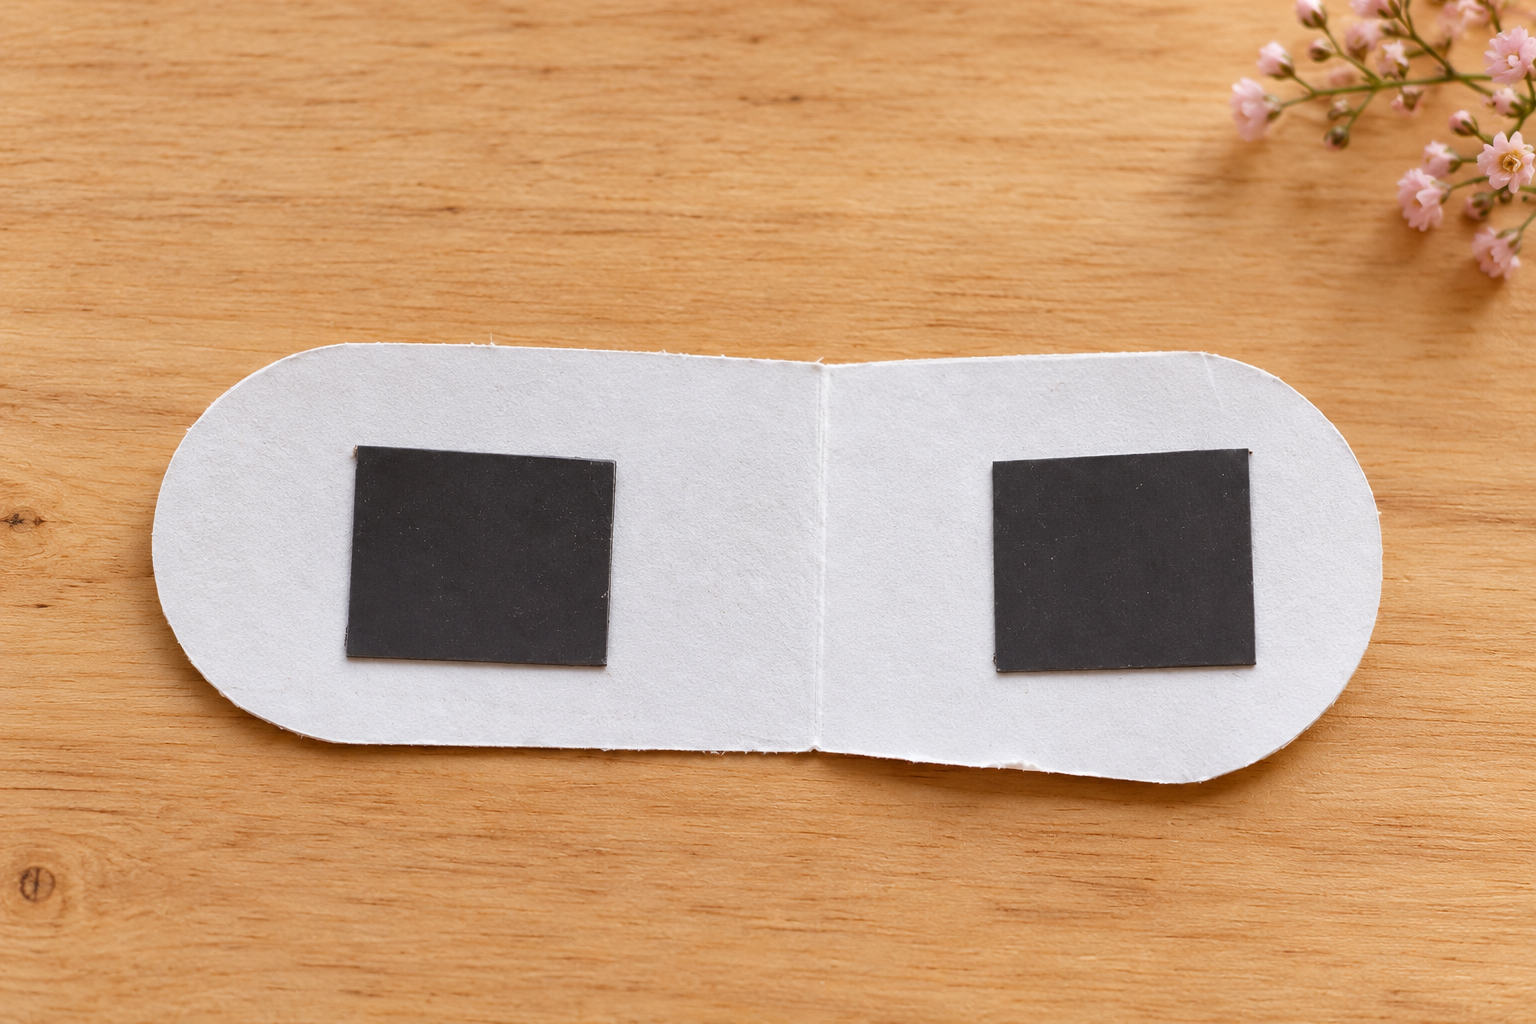
Place one small magnet near the bottom inside edge of each half. Before applying glue, check that the magnets attract each other correctly.
If their poles are facing the wrong way, they will push apart.
Glue the magnets securely and allow them to dry. Close the bookmark and check whether the magnets meet evenly.
Keep them slightly away from the edges to create a cleaner and more secure finish.
Step 7: Test and Finish Your Bookmark
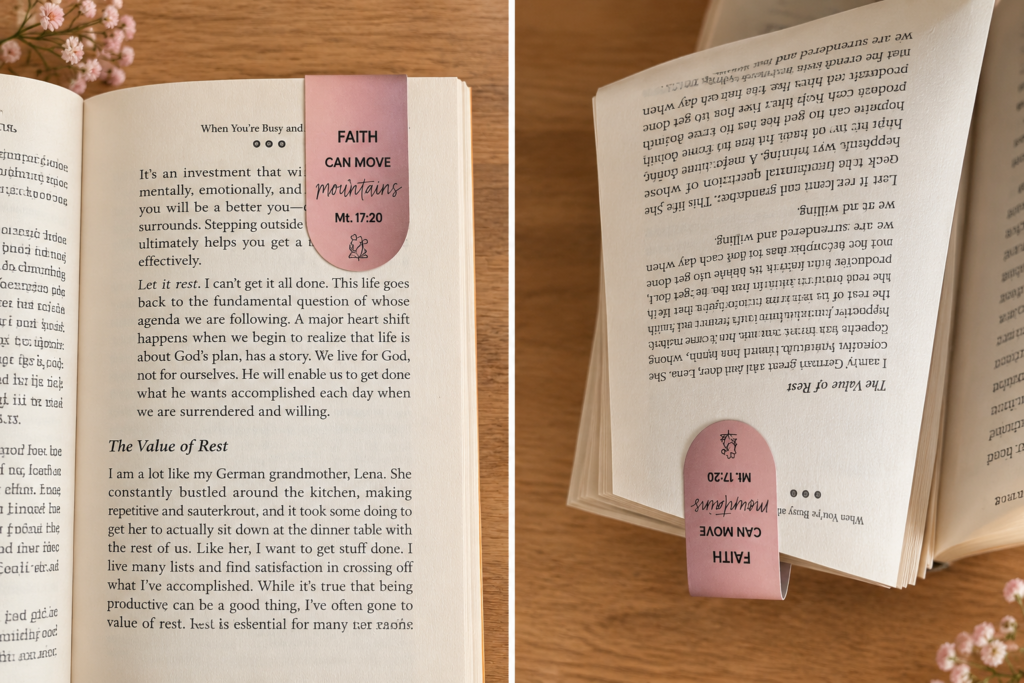
Clip your finished bookmark over a page and check that it stays in place without damaging the paper. Remove any pencil marks or glue residue.
Your handmade magnetic bookmark is now ready to use, gift, package, or sell. You can create matching sets using different colors, patterns, and meaningful quotes.
Helpful Tips for Beginners
Always make one sample before printing a full sheet. Keep important words and decorative elements slightly away from the cutting and folding lines.
Lightweight magnets are better for delicate pages, while stronger magnets can be used for notebooks or journals.
If you plan to sell your bookmarks, place them on a simple display card and pack them in a clear sleeve to keep them clean, protected, and attractive.
Conclusion
Making a magnetic bookmark at home is an enjoyable project that does not require expensive tools.
With a printed design, careful cutting, and two small magnets, you can create something both beautiful and practical.
Start with a simple design, practice the folding and magnet placement, and improve with each attempt.
Once you feel confident, create themed bookmark sets for readers, children, teachers, Bible readers, gifts, or special occasions.